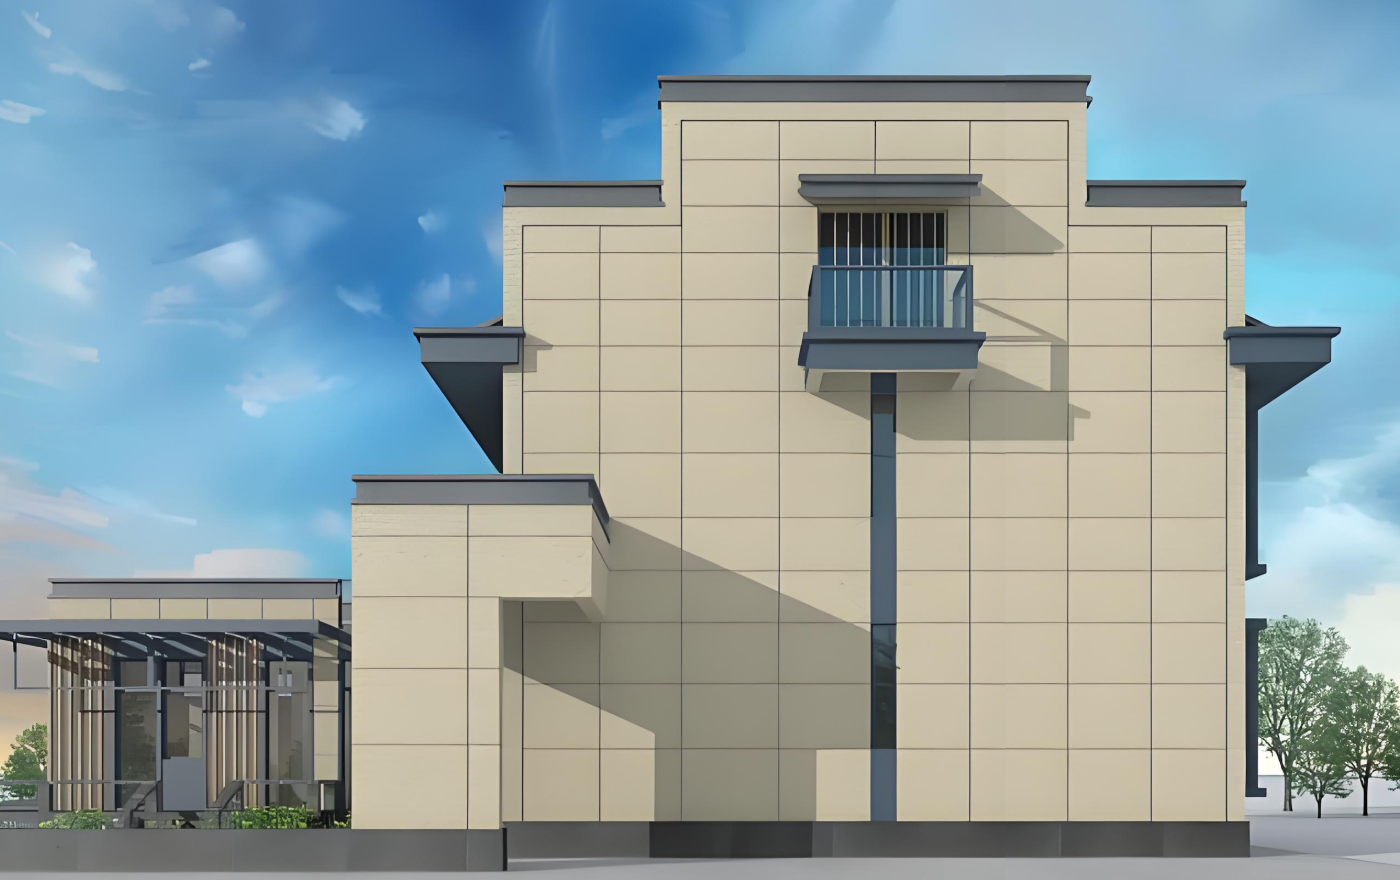
Exterior Stone Effect Paint Coating and Construction Methods
Exterior stone effect paint construction involves multiple layers and steps. It starts with base layer preparation, including cleaning, repairing cracks, and sanding. Waterproof putty is applied for leveling, followed by an alkali-resistant primer. Grout joints are marked and painted, then masked with tape. Stone effect paint is sprayed in two coats to achieve the desired texture. After drying, the coating is sanded, and the masking tape is removed. Finally, a dust-resistant topcoat is applied to protect the surface. Proper construction sequence and environmental conditions are crucial for quality and durability.

I. Coating Layers
| Layer Name | Number of Coats | Layer Thickness (mm) | Function |
|---|---|---|---|
| Primer Layer | 1-2 coat | 0.1-0.15 | Provides alkali resistance and enhances the adhesion of the base layer, preventing alkali substances in the base layer from eroding the stone effect paint coating. |
| Stone Effect Paint Main Layer | 2 coats | 1-2 (per coat) | Provides the main decorative effect of the stone effect paint, simulating the texture and feel of natural stone. |
| Topcoat Layer | 1-2 coats | 0.1-0.2 | Protects the stone effect paint coating, increases the coating’s weather resistance, stain resistance, and gloss, preventing dust and rain erosion. |
II. Construction Methods
- Base Layer Preparation
- Clean the Surface: Use brooms, brushes, and other tools to clean the surface, removing dust, oil, old paint layers, and other contaminants.
- Repair Cracks: Use putty or repair mortar to fill in wall cracks to ensure the surface is smooth.
- Sand and Level: Sand the surface with sandpaper or a grinder to make it smooth, eliminating any obvious unevenness.
- Apply Waterproof Putty
- Mix Putty: Use waterproof putty to apply a leveling coat on the crack-resistant mortar layer. The putty should be mixed on-site and stirred evenly.
- Apply Putty: Each coat should be applied at a thickness of no more than 0.8 mm, with 1-2 coats applied. The second coat should only be applied after the first coat has completely dried.
- Sand Putty: After the putty has dried, sand it until the surface is smooth and free of marks, and then remove the dust.
- Roll on Alkali-Resistant Primer
- Inspect the Base Layer: After preparing the surface, carefully inspect it to ensure it meets the requirements. Test the moisture content of the base layer to ensure it is less than 10% before applying the alkali-resistant primer.
- Dilute Primer: Dilute the primer strictly according to the product’s specified ratio. The putty should be completely dry before applying the primer.
- Apply Primer: Apply the primer and wait 4-6 hours before proceeding to the next step.
- Grout Joint Treatment
- Mark Joints: According to the design requirements, use a chalk line to mark the surface of the dried primer layer. The lines should be clear and straight.
- Paint Joint Edges: Carefully paint along the marked lines from top to bottom and from left to right with a narrow wool brush to apply 1-2 coats of joint paint.
- Apply Masking Tape: After the joint paint has dried for 24 hours, apply masking tape of the designed width along the joints.
- Spray Stone Effect Paint
- Dilute Stone Effect Paint: Dilute the stone effect paint strictly according to the product’s specified ratio. Stir the paint thoroughly to ensure it is evenly mixed.
- Test Spray and Adjust: Use a stone effect paint spray gun and select an appropriate nozzle size based on the desired effect. Test spray and adjust until the desired effect is achieved before proceeding with large-area application.
- Spraying Operation: The first coat should be sprayed quickly and thinly, with a nozzle size of 4-6 mm. After the first coat has been sprayed and is surface-dry, begin the second coat, which should use a nozzle size of 6-8 mm. Each coat should be sprayed at a thickness of about 1-2 mm, with a total thickness of 2-3 mm.
- Sand Stone Effect Paint
- Sand the Coating: Before applying the waterproof protective film, use 400-600 grit sandpaper to sand off the surface of the dried coating to remove any loose sand and sharp edges of the sand particles.
- Remove Masking Tape
- Cut Tape: Before removing the tape, use a utility knife to cut the tape at the intersection of the horizontal and vertical lines, along the direction parallel to the horizontal tape.
- Timing: The best time to remove the tape is when the stone effect paint is semi-dry to the touch and has a brittle, non-rigid state.
- Direction: Remove the tape at an angle close to 180 degrees.
- Roll on Dust-Resistant Topcoat
- Inspect Coating: After the stone effect paint has been applied, the coating should be hard-dry. Wait at least 24 hours in sunny weather (or longer in humid conditions) before applying the topcoat.
- Dilute Topcoat: Dilute the topcoat strictly according to the product’s specified ratio. Stir the topcoat thoroughly to ensure it is evenly mixed.
- Application Method: The topcoat can be applied using spray or roll-on methods.
Precautions
- Construction Environment: The construction temperature should be above 5℃, and the relative humidity should be less than 85%.
- Material Selection: Ensure that the materials used meet quality standards to avoid using inferior products.
- Construction Sequence: Follow the construction sequence strictly to avoid missing or repeating steps.
- Safety Protection: Construction personnel should wear safety protective equipment, such as masks, gloves, and safety helmets.
By following the detailed construction steps and precautions above, the quality and effect of exterior stone effect paint construction can be ensured.
